When I was in the States, I paid many visits to Sephora. Occasionally I’d buy a few items, leading me to be upgraded to their VIB loyalty programme. Having been bumped up a step, I was now eligible for a 10% discount on my next purchase, as well as a free make over. So, on the last day I was on vacation, I decided to go into Sephora one last time to get that makeover. Since I struggle with applied contour and highlight, I decided that would be a nice moment to learn. The lady who did the make over taught me one specific way that suits my face and skin tone and I fell in love. I have been applying my bronzer, contour, highlight and blush according to this routine ever since.

The products I use for my contour & highlighting routine are partly new. The NARS Laguna bronzer and Vivid Baked Highlighter in Peach Lights by Make Up Revolution were already part of my collection. When I was in the States I picked up the much raved about Milani Baked Blush in Luminoso and I find it goes very nicely with the rest of the products here. But the start of the show is the Hourglass Radiant Light Ambient Lighting Powder. This powder is the key to the entire look.

Just foundation
This is my face with just some foundation applied. What I struggled with mostly when it came to applying contour and highlight is the placement on my face. I have seen people do this on Youtube many times, but for some reason, when I applied their techniques it just never looked right. I am very fair skinned as you can see so finding a bronzer and contour shade that are right for me, seemed nearly impossible. And since I have a very narrow, oval shaped face I felt that if I applied contour the way its described by most beauty gurus it always make my face look even more narrow and long and that is exactly what I don’t want.

Step 1: bronzer
(Hourglass Ambient Lighting Powder in Radiant Light)
The key for creating the right look on me is to add a bit of glow onto my face using a light bronzer. Enter the Hourglass Ambient Lighting Powder in Radiant Light: this glowy powder is in fact the right shade on my face to be used as a bronzer. It adds a bit of color and glow and functions as a base for the overall look. I apply this along my hair line, above my temples and then swoop it down in a ‘3’ shape down each of my cheeks and my jawline/ neck. It warms up my face without it being too much.

Step 2: contour
(NARS Laguna bronzer)
Applying the bronzer first serves as a base color for the contour. Rather than sculpting out my cheek bones all the way across my cheek, all I do is draw a small triangle between the top of my ear and the middle part of my ear onto my cheek. I blend it out and that is my contour. So no dramatic lines going all the way to the corner of the mouth, but just a subtle bit of darkness right on the outer perimeter of my face. It allows for a more sculpted look and it makes my face look a bit more round rather than long and oval. I use a bronzer that is often a bit too dark for me to do this and I find the NARS Laguna bronzer works nicely for this purpose.

Step 3: highlight
(Make Up Revolution Vivid Baked Highlighter in Peach Lights)
To bring back a little bit of glow to the face, I now apply my highlight. I have been using the MUR highlighter in Peach Lights for this. It is not as boom in your face, but still adds a nice bit of glow. I apply this in a ‘C’-shape around my eye, focusing on the upper part of my cheek and the highest point of my brow. I also apply the highlight before adding any blush shade. In face, at this point you could pretty much be done with your face make up and finish off your look if you want. But I always like to apply a bit of color, else I feel I look too pale.

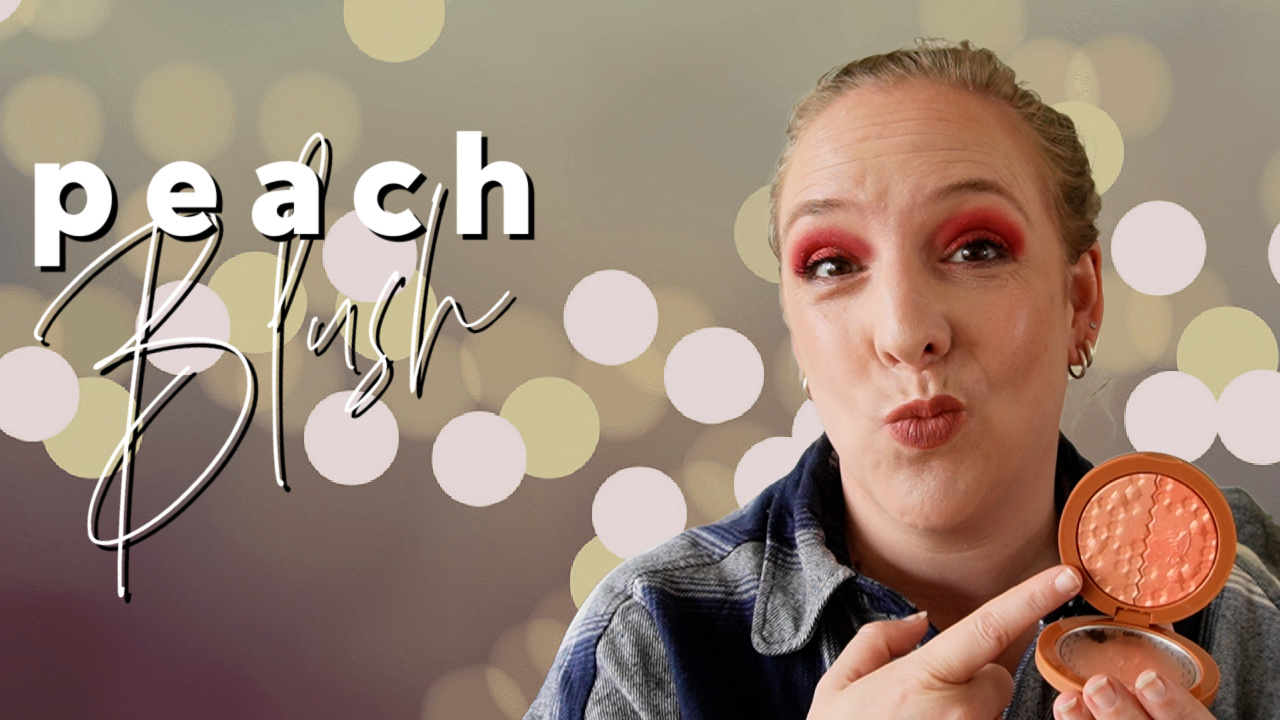
Step 4: blush
(Milani Baked Blush in Luminoso)
What the lady explained to me is that it is best to save your blush for last. On my face shape it is best to apply some blush mostly to the apples of the cheek and it is best to find that spot if you already applied bronzer, contour and highlight. The little space that is left is then the space to put your blush shade. Since Luminoso is very peachy and glowy it completely blends into the other products I have used. I also only used a little bit of the blush as it is very intense and a little too dark for me if I used it full on. Hence the little to no difference in the pictures above, but when you look at the full face picture below, you can definitely tell there is a little bit more on my cheeks than just a bit of bronzer and a highlight.

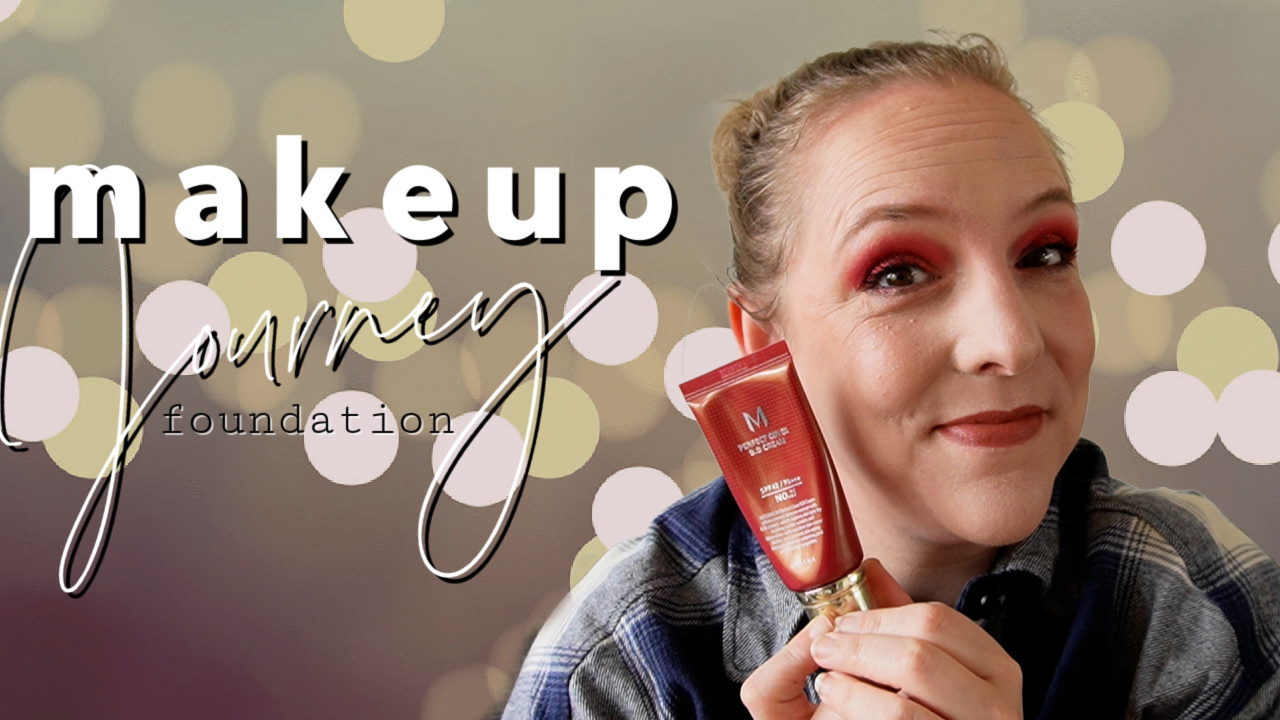
Step 5: the finished look
I love the look of using these products with these techniques. It makes for a healthy, glowing look that may seem time consuming written down like this, but it really takes about 2 minutes or so. If all goes well, there is a video coming this Saturday where I demonstrate this in real time.
What technique do you use to apply your contour and highlight?


Leave a Reply